Starting a garden for beginners means choosing crops that forgive your mistakes, not the ones that look best on the seed packet.
Leafy greens, herbs, and root crops will feed you while your tomatoes fight blight and your peppers sit green and stubborn.
The difference between a first harvest and a first failure is often a $47 drip timer and a soil test from your county extension office, not more effort or better luck.
[link-whisper-related-posts]Choose a Sunny Location
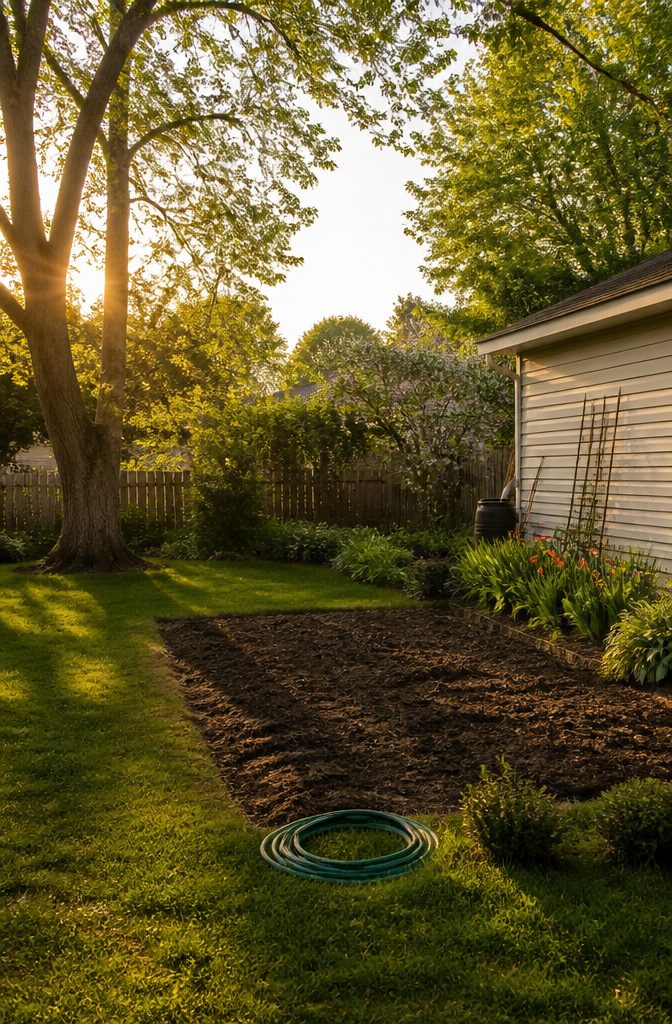
Six to eight hours of direct sun is the baseline for most vegetables, and the afternoon hours matter more than the morning ones.
I learned that the hard way after planting tomatoes against my east fence where they got plenty of dawn light but sat in shade by 2 p.m.
The plants grew tall and thin and set almost no fruit. Morning sun plus afternoon shade is not the same as six hours of midday sun, even if the hour count looks similar on paper.
Carrots, beets, spinach, and broccoli will tolerate four to six hours and do better in those spots than tomatoes or peppers will.
If your yard has tree cover or neighboring buildings, watch the candidate spot through a full growing season before you commit.
Shade from deciduous trees shifts dramatically from May to July, and a corner that looks bright in early spring can turn dim by solstice.
A hose should reach the spot without hauling cans across the yard; dry spells happen, and convenience determines whether you water enough or let things wilt.

Ready-to-Use Formula: No mixing or extra steps required. Simply pour and plant - perfect for gardeners of all experience levels.


Includes 10lb block of Back to the Roots compressed Coconut Coir that expands to 51qt of potting soil. A balanced pH, which means it’s truly all-purpose. Use alone or as an amendment for anything in a pot or in the ground — vegetables, flowers, herbs, and even starting seeds.
Prepare the Soil
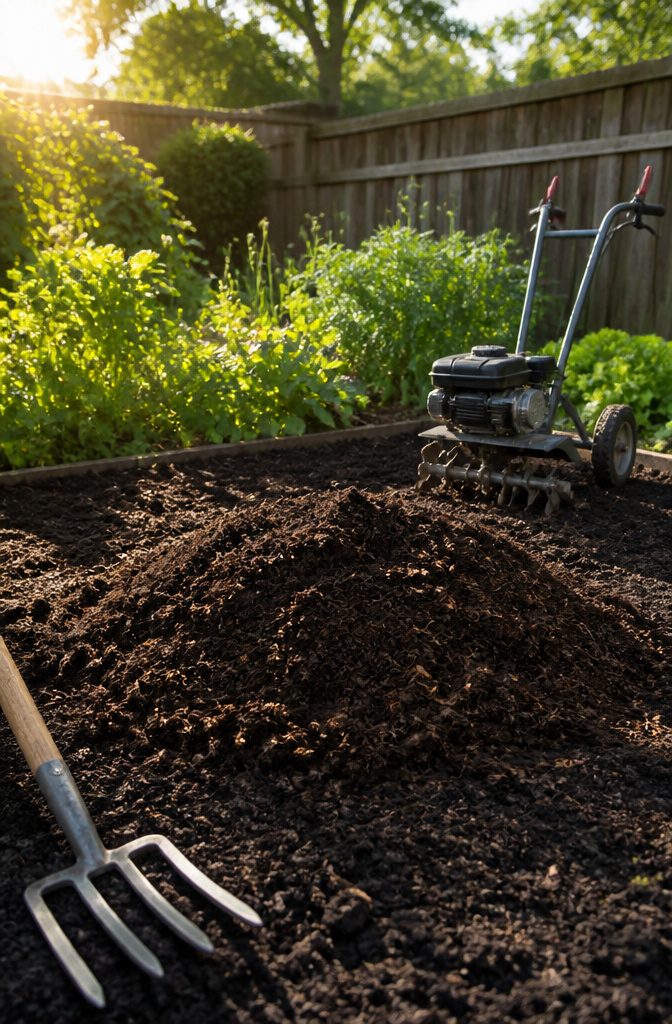
Bare soil in a new garden plot usually needs a lift. Spread 3 to 4 inches of compost or another organic matter across the surface, then work it in with a garden fork or rototiller.
That single layer does the heavy lifting for drainage, texture, and the slow-release nutrients beginners rarely think about until their tomatoes stall out.
A soil test is worth the small fee most county extension offices charge.
The report tells you your pH, your organic-matter percentage, and where your phosphorus and potassium sit. A vegetable garden does best at about pH 6.5, though most crops handle anything between 6.0 and 7.2 without complaint.
My own test came back at 5.8, so I added lime that fall and retested in spring; the second round read 6.4, and the peppers that year looked like a different species from the stunted batch before.
Raised beds skip most of this drama if you fill them with a quality mix from the start.
The compost rule still applies for in-ground beds, and mulch after planting to hold moisture and suppress the weeds that will otherwise colonize that fresh, loose soil.

【Indoor & Outdoor Versatility, All-Season Smart Irrigation】:HEKIWAY Designed for year-round convenience, this automatic drip irrigation system works seamlessly both indoors and outdoors. During winter, simply charge it via the Type-C port to ensure continuous watering for your indoor plants—even in cold weather. In warmer seasons, the solar panel powers the system automatically, delivering worry-free, energy-efficient watering all day long


🔹 [Smart Timer Included – Hands-Free Watering, Fully Programmable | 2026 Upgraded]No more daily hose duty. The built-in automatic timer lets you customize watering schedules by time, frequency, and duration. Features Rain Delay Mode (1–15 days) to pause watering during rainy days and resume automatically, plus a Child Lock for added peace of mind. Note: Batteries are not included. Please follow the instructions to set watering schedules
Create Garden Beds
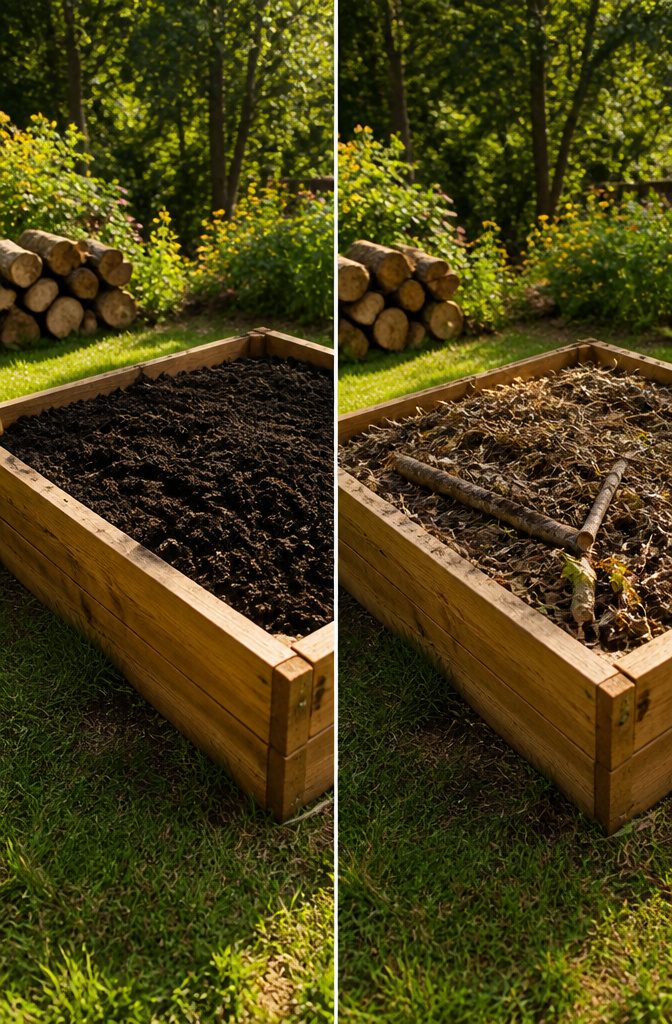
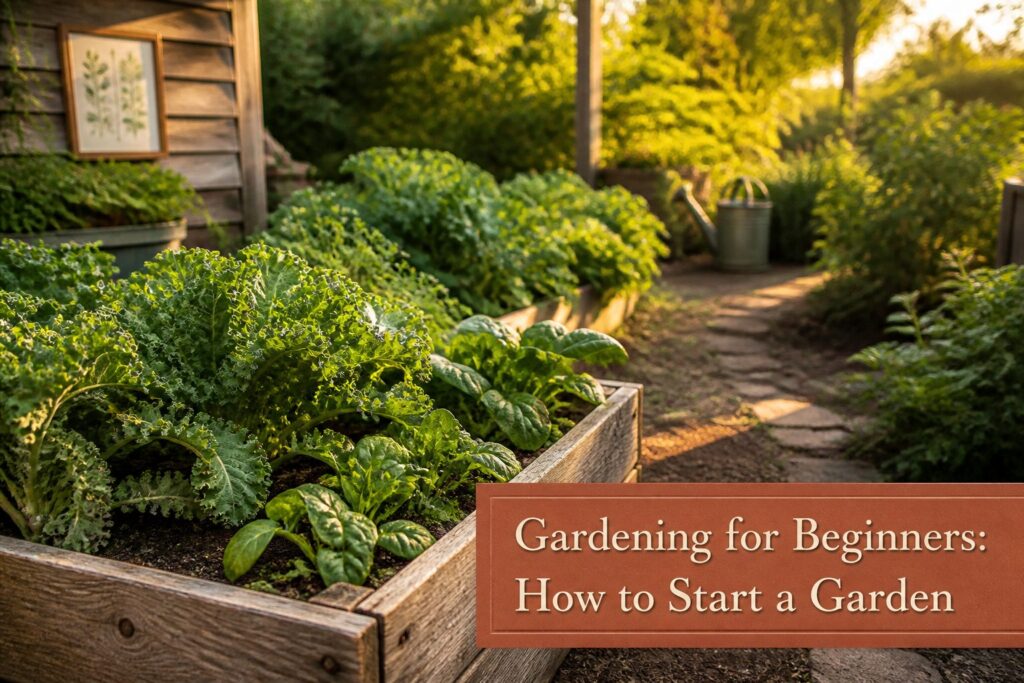
Raised beds and in-ground beds each have their place, but the first garden I built was a raised bed for a reason.
A raised bed needs to be at least 12 inches tall to give roots real room, and that height buys you more than soil volume.
The sides act as a physical barrier against rodents, and the contained soil warms faster in spring so you can plant sooner. Weeds are easier to manage too, since the defined edges stop lawn grass from marching in.
My first bed was a simple DIY box, nothing purchased pre-made. I used basic lumber and filled it with garden soil plus composted manure that first season.
The materials ran me about $80 total, soil included. In hindsight I could have cut the soil cost by packing the bottom with logs and branches first, a Hugelkultur trick I learned later, but the bed itself has held up fine.
For a beginner with a weekend and a hundred dollars, that is the build I would repeat.

Kindly NOTE: This soil tester can not be applied to test pH value of any other liquid. If the soil is too dry the indicator will not move, and water it before testing.

✅ 1Dial & 1 LCD Screen - Replace/install all 3 batteries each time. Put button to %RH/°F to - Turn On, and put to LIGHT to - Turn Off. Read the LCD results in 3-5 mins. (Not Water Moisture Meter, so, please don't test liquid)

Quick, at home results for Soil pH, Nitrogen, Phosphorous and Potash Innovative and inexpensive soil test kit features an easy-to-use capsule system and patented color comparators
Choose Your Crops
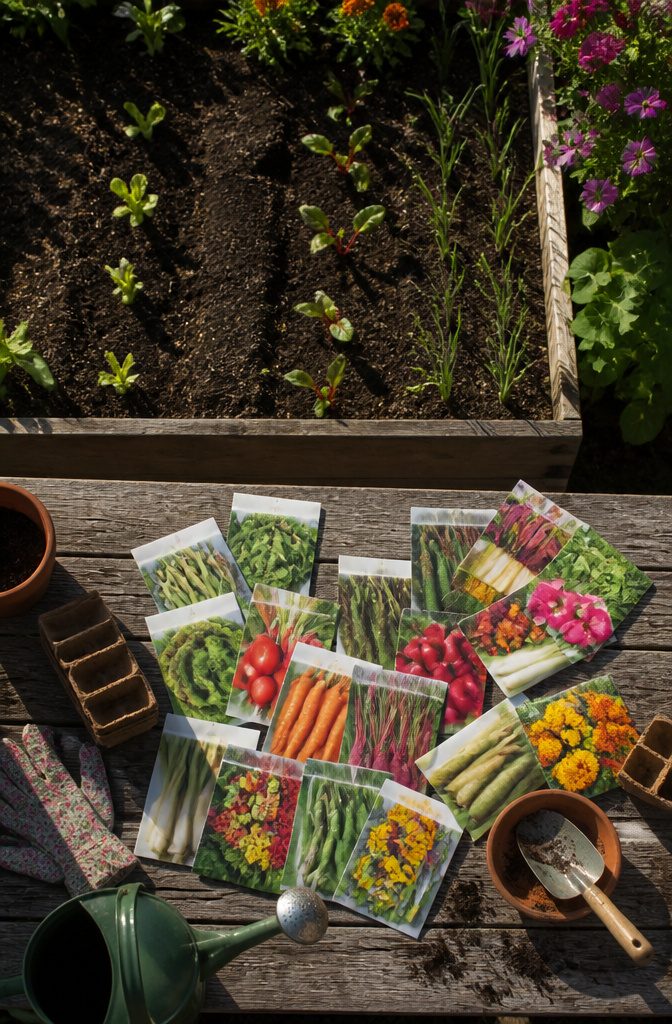
My first year, I planted what looked good in the seed packets: tomatoes, peppers, and a melon that never stood a chance.
The tomatoes fought blight all summer, the peppers sat there green and stubborn, and the melon rotted before it sized up.
What actually fed us was the row of lettuce I’d almost skipped, the herbs I tucked into corners, and the beets I planted on a whim because the packet said they tolerated cold.
Leafy greens, herbs, and root crops are the crops that forgive beginner mistakes. Lettuce and spinach grow fast enough to outpace weeds, herbs don’t mind cramped quarters, and beets or radishes give you something to pull in weeks, not months.
Beans, onions, potatoes, squash, and tomatoes need either more space, more time, or more luck than a first-timer usually has.
The hardiness zone changed everything once I looked it up. I had assumed my yard matched the neighbor’s advice, but the official zone put my last frost two weeks later than I planned around.
That meant the tomatoes went in too early, stunted in cold soil, and the cool-season crops I could have started sooner got planted late.
Now I match every packet to the zone map before I order, and the list of what I’ll actually grow shrinks to what fits both my kitchen and my calendar.

Feed the soil not the plants - stimulate microbial activity in your soil and boost probability of success with all types of plants… like composting but faster

NUTRIENT-RICH GROWTH: Premium cow manure compost packed with nitrogen, calcium, and iron. This organic compost fertilizer enriches soil, boosts microbial life, and supports bigger vegetables, greener lawns, and thriving flowers.

100% Natural Compost for Plants - Compost is a nutrient-rich, soil-like substance made from blending yard trimmings and plant residue, such as leaves and grass clippings. Together, they’re composted to make a growing medium that’s part fertilizer, part soil amendment. When mixed with garden soil, compost helps loosen soil, holds onto moisture, and provides essential nutrients for plants.
Sow Your Seeds
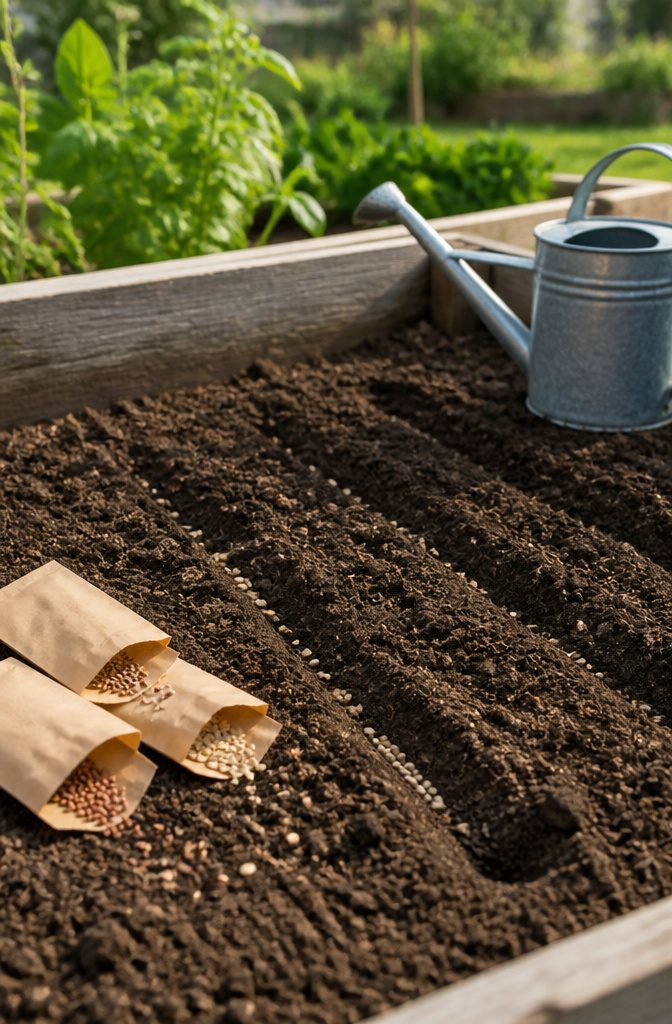
The seed packet knows more than your gut does. I learned that the hard way last spring, when I pressed my lettuce seeds a full inch into the soil because I pictured roots needing room to grow.
Two weeks later, nothing had broken the surface. The packet had called for an eighth of an inch, which felt insultingly shallow, but seeds germinate in light and air, not in a bunker.
Germination does not look like the gardening shows suggest. I expected a neat green loop rising like a question mark.
What I got, once I finally read the packet and re-sowed, was a barely visible split in the soil, then two pale, hair-thin threads that looked more like mold than food. They stayed that vulnerable for days.
Water daily for the first two weeks, or the tender thread dries out before it becomes a root system.
I set a phone alarm for 7 a.m. and ran the hose on mist. Skip a morning because the soil looks damp on top, and the half-inch below can be dust.
The packet gives the depth and spacing. Trust it exactly.

Classifies Sunlight Exposure in Real Environments. Accurately identifies Full Sun, Partial Sun, Partial Shade, or Shade based on DLI (Daily Light Integral) levels—helping gardeners and designers optimize plant placement.

Measure Daily Plant Light (DLI). Quantify total plant light received throughout the day in mol/m²/day. Identify Full Sun, Partial Sun, Partial Shade, or Shade conditions for better plant placement and care.

✅【2 in 1 PAR & DLI Meter】DANOPLUS PAR DLI Meter is easy to measure PPFD (Photosynthetic photon flux density) and DLI (Daily Light Integral), the range of the PPFD is 0-5000 μmol/m2/sec, the wavelength is from 400nm to 700nm
Water Consistently
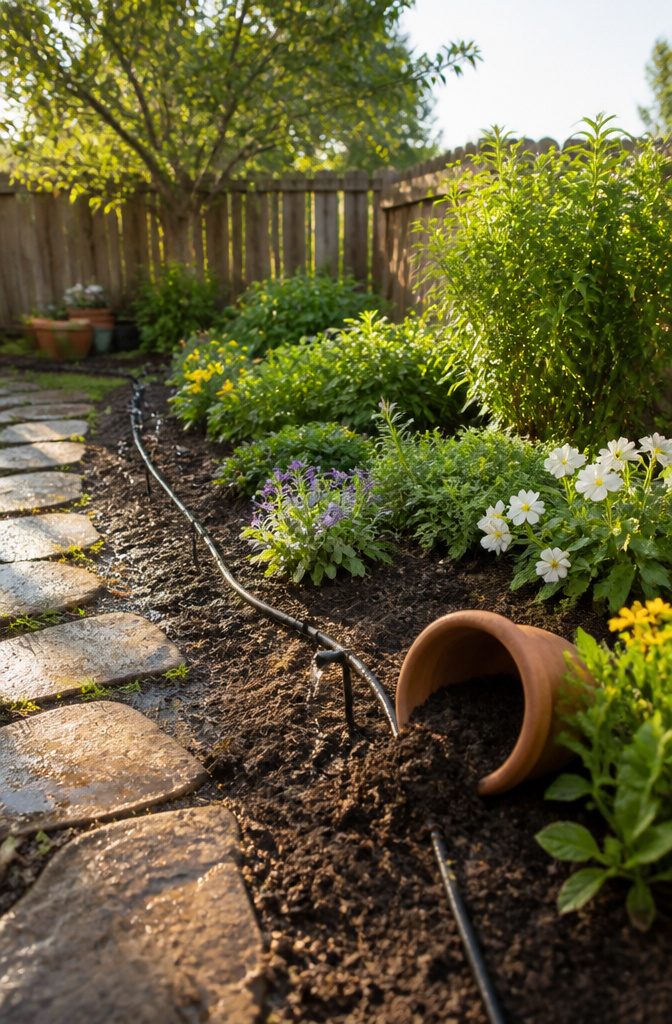
Soil moisture during germination is the make-or-break detail most beginners underestimate.
Seeds that dry out even once after sowing usually fail, so the top inch of soil needs to stay damp for about two weeks until roots are deep enough to find water on their own.
That meant daily hand-watering with a can for my first attempt, which I managed for ten days before missing a Saturday morning and watching a flat of tomatoes wilt past recovery.
The fix was a battery-operated hose timer and a basic drip kit. The whole setup cost $47, mostly the timer at about $30 and a handful of drip emitters and tubing from a hardware store.
I set it to run 10 minutes every morning at six, which kept the seedbed consistently moist without the daily chore.
For smaller spaces or cooler months when you’re only growing lettuces, hand watering still works fine; for a full bed through summer germination, the timer pays for itself in saved seedlings.

Includes Back to the Roots Compressed Seed Starting Potting Mix that expands to 12qt of soil. A balanced pH, which means it’s truly all-purpose. Use alone or as an amendment for anything in a pot or in the ground — vegetables, flowers, herbs, and even starting seeds.

ALL-NATURAL MIX: Burpee Organic Premium Potting Mix is formulated with plant food & coconut coir to promote seed & root growth and healthy flower, vegetable & herb plants. OMRI Listed for organic use.

FEEDS UP TO 6 MONTHS: Miracle-Gro Potting Mix is a gardening soil for outdoor containers that feeds all types of potted plants, including flowers, vegetables, shrubs, annuals, and perennials for up to 6 months
Weed and Thin Seedlings
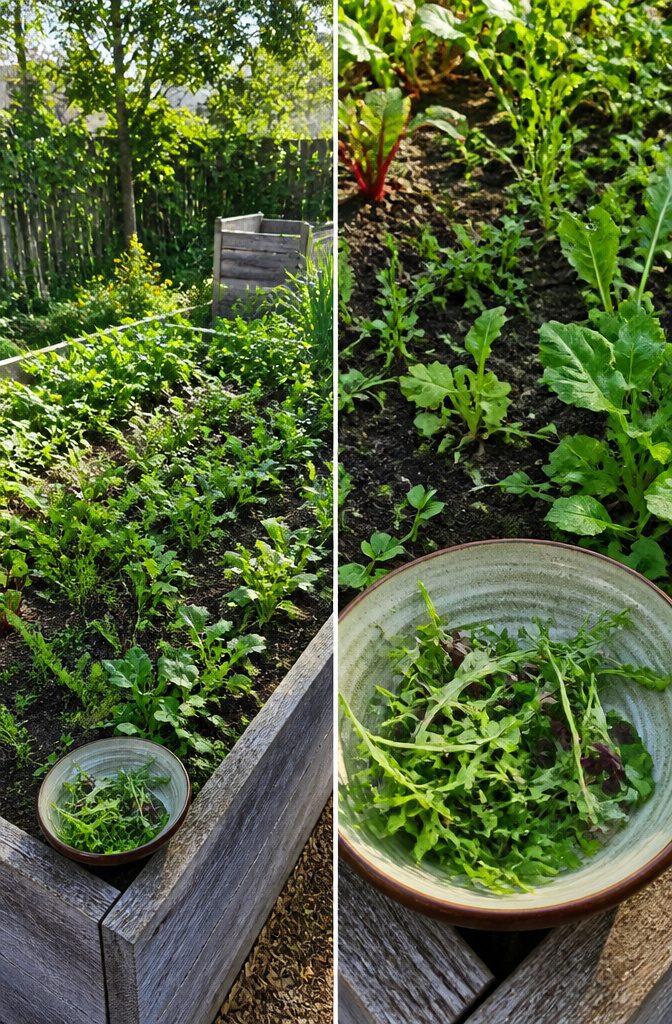
Weeds and seedlings look almost identical in their first week, and the straight rows I laid out in March were the only reason I could guess which was which.
The vegetable seedlings unfurl their first true leaves in a pattern you can match to photos online; weeds tend to shoot up faster and at odd angles.
I still remember pulling a perfectly healthy beet seedling because it had drifted six inches from its row after a hard rain.
That guilt, realizing I had killed something I had watered and waited for, is part of why thinning crowded seedlings feels like a second round of the same mistake.
Carrots, beets, and greens need space to develop tubers or full leaves. The weak seedlings you pull out can go straight into an early salad, but the ones left behind will now have room to grow into something worth harvesting.

🍀【Extra-Long 50FT 5/16” Mainline Tubing】 With 50 feet of premium 5/16” main tubing, you have more flexibility to build a central watering path across larger garden layouts. The enhanced flow capacity supports multiple emitters with consistent water pressure throughout your irrigation zones.

🌷With perfect gardening automatic watering system🌷: 1 set of automatic watering system, 32FT 5/16“ID thick hose +1/4" hose 130FT, adjustable water volume gushing sprinkler nozzle 16PCS, plant root drip irrigation sprinkler nozzle 12PCS, 1 set of 3/4" Y-connectors, 32 sets of other connectors.
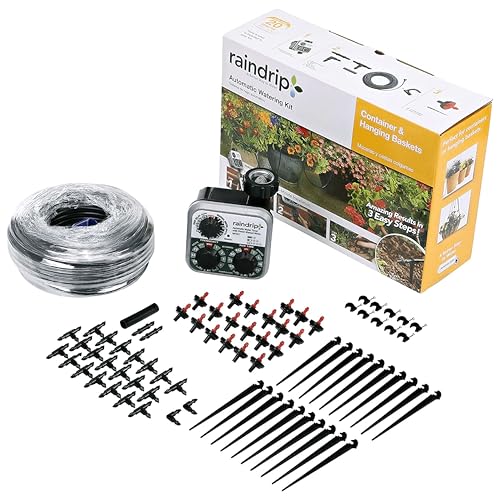
Save Time and Effort: This Raindrip drip irrigation kit includes everything you need to create a drip watering system for potted plants and precisely water up to twenty plants, saving time and effort while keeping your garden healthy
Harvest at the Right Time
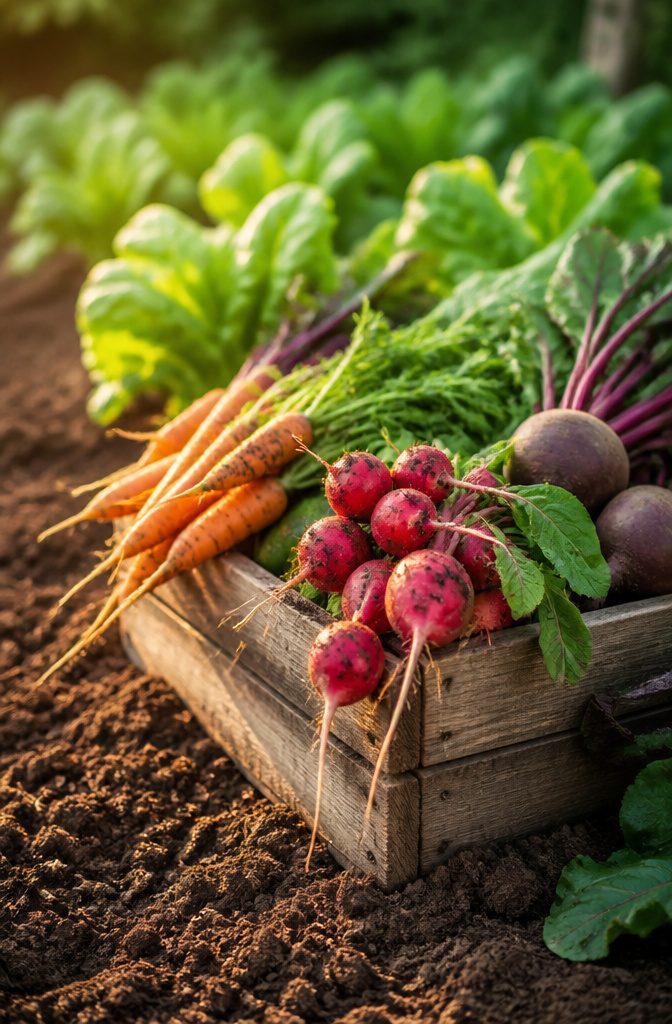
Seed packets list days to maturity for a reason, and that number is what saved me from eating woody radishes my first spring.
The packet said 25 days; I pulled them at 22, convinced they looked ready. They were underdeveloped, peppery, and half the size they should have been.
Two beds over, I missed the window on spinach entirely. It bolted before I checked it, the leaves gone bitter while I was still waiting for some visual cue that never came.
Greens can be picked once they look large enough to eat, which works until it doesn’t. Root crops do not forgive a missed window; they turn fibrous and lose flavor fast.
My Brussels sprouts and kale kept producing into winter, but only because I had planned the harvest date from the packet and set a phone reminder. Without that, I would have wandered out, guessed, and guessed wrong again.

Accurate Soil pH Testing: Dewildetradingco Soil pH Test Strips offer measurements of soil pH levels (pH 3.5-9). As an essential tool for every gardener and grower, these test strips help determine the optimal pH for various plants, such as outdoor plants, indoor plants, gardens, grass lawns, fruit trees, flowers, vegetables, and forest shrubs.
Essential Garden Tools
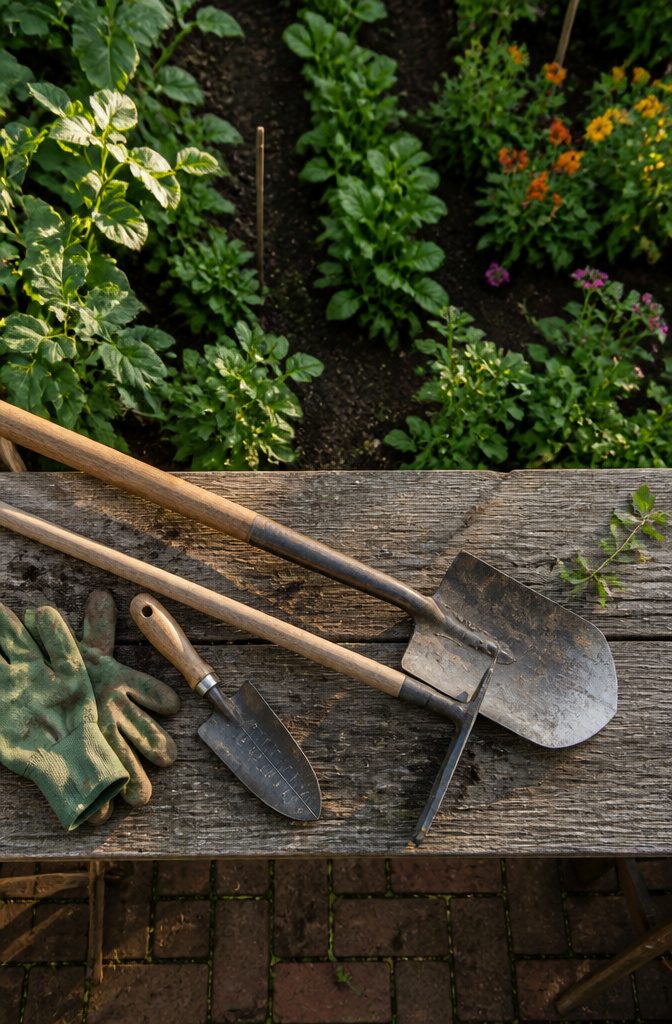
Start with a long-handled shovel and hoe; short handles force you to bend too much and wear out your back fast.
A good shovel lasts for breaking ground, moving compost, and everything between; a cheap hoe usually snaps at the neck within a season or two.
A watering can came later, borrowed from a neighbor for the first season, and I only bought my own after realizing I was hauling that borrowed plastic can across the yard three times a week.
For raised beds, the same shovel works fine, though a hand trowel with depth markers saves guesswork when you’re setting tomatoes or peppers at the right level. I skipped the broadfork and the fancy cultivators the catalogs push.
The trowel, a new long-handled hoe, and that same five-year-old shovel are what still live by my back door. Everything else was either borrowed, broke, or turned out to be a tool I reached past to grab the shovel again.
Use a Planting Schedule
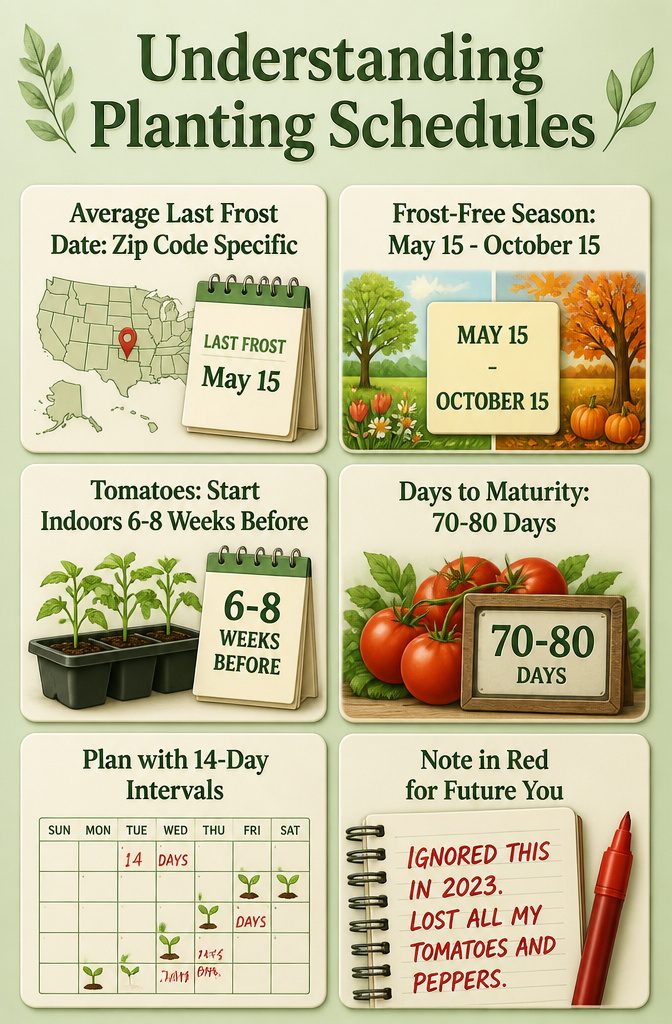
The first year I tried to start a garden for beginners, I lost every tomato and pepper seedling to a late freeze in mid-April.
I had planted by the calendar date a neighbor mentioned, not by the average last frost date for my zip code, which turned out to be three weeks later.
The National Weather Service tracks these dates by zip code, and that number is what now drives every planting decision I make.
My frost-free season runs roughly May 15 to October 15, which gives me about 150 growing days. Seed packets list days to maturity, so I work backward from that October date for fall crops and forward from May for spring ones.
Tomatoes need 70–80 days, so I start them indoors six to eight weeks before the last frost, not when the hardware store puts seedlings out in March.
The calendar lives on my fridge now: last frost, first frost, and fourteen-day intervals for succession planting. My only addition is a note in red for the year I ignored it.
Pair Plants That Help Each Other
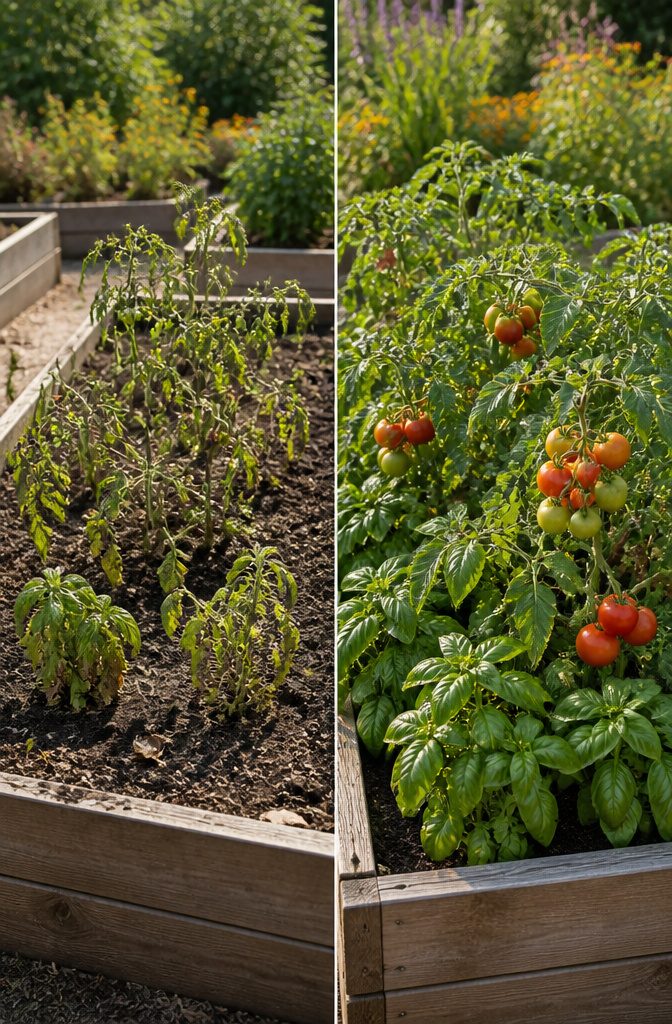
Some plants just get along better than others, and the garden shows it.
Tomatoes and basil are the pair I keep coming back to: the basil seems to discourage the flies that usually hover around tomato leaves, and both of them like the same warm, steady sun.
I tried them in a raised bed two summers running.
The first year I kept them in separate corners and lost a fair number of tomato leaves to whatever was chewing through; the second year I tucked basil between every second tomato plant and the damage dropped enough that I noticed, though I never set up anything formal enough to call it proof.
The USDA makes the broader case better than I could:
Companion planting takes advantage of the natural "relationships" between different vegetable crops and other plants. Utilizing companion planting in the garden improves productivity and also helps to deter harmful pests. Combination planting also aids in weed suppression and attracts beneficial insects and pollinators.
What that means in practice: pairing is not about perfection, it is about stacking the odds.
I also tried carrots near onions because the books suggest it confuses carrot fly, but my soil was too shallow that year and both crops stalled, so I honestly cannot say whether the pairing helped or not.
The tomatoes and basil, though, cost me nothing extra and took no more time than planting them apart. That is the threshold I use now.
If a pairing fits the same space and schedule I already had, I try it. If it asks for a separate bed, a different watering rhythm, or seed I do not own, I skip it and plant straight.
Test Your Soil
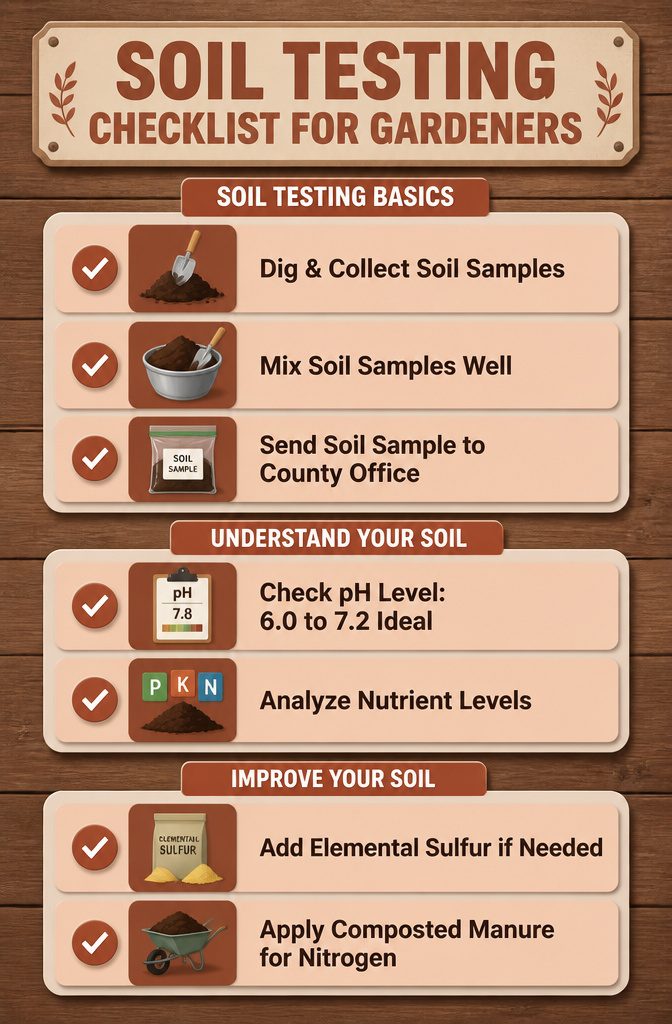
Soil testing sounds technical, but a county extension office handles the actual lab work for little or no cost.
You dig a few inches down in several spots, mix the samples, and send a bag of dirt to be analyzed. The report comes back with your pH and levels of phosphorus, potassium, and organic matter.
My first test came back at pH 7.8, which is higher than the 6.0 to 7.2 range where most vegetables grow best.
Phosphorus and potassium were adequate, but nitrogen was low enough that yellowing leaves were a real risk. Based on the lab’s recommendations, I added elemental sulfur to bring the pH down and worked in composted manure for nitrogen.
The sulfur cost about twelve dollars for a five-pound bag, and two bags of manure ran eight dollars each. That twenty-eight dollars and a weekend of spreading and turning saved me a season of stunted plants.
Frequently Asked Questions
What vegetables are easiest to grow for beginners?
Leafy greens, herbs, and root crops are the most forgiving choices.
Lettuce and spinach grow fast enough to outpace weeds, herbs tolerate cramped quarters, and beets or radishes produce harvestable roots in weeks rather than months. Tomatoes, peppers, and melons demand more space, time, and luck than most first-timers have.
How do I know when to plant my seeds?
Check your average last frost date by zip code through the National Weather Service, then follow the seed packet’s days-to-maturity count.
Work backward from your first fall frost for late crops and forward from your last spring frost for early ones.
The packet also tells you exactly how deep to sow; ignore that number and you risk burying seeds too deep to germinate.
What tools do I need to start a garden?
A long-handled shovel, a hoe, and a watering can handle almost everything.
A hand trowel with depth markers helps for raised-bed planting, but skip the catalogs’ broadforks and cultivators. The author still reaches past every other tool to grab the same five-year-old shovel.
Where to start with gardening?
Pick a spot that gets six to eight hours of direct afternoon sun, runs a hose to it, and watch how the light shifts through a full growing season before you commit.
Spread 3 to 4 inches of compost over bare soil and work it in, or build a raised bed at least 12 inches tall if you want faster spring warming and fewer weeds.
Is October too late to plant?
That depends on your first frost date and what you are growing. Spinach and kale tolerate cold and keep producing into winter; tomatoes and peppers will not survive a freeze.
Check your seed packet’s days to maturity and count backward from your average first frost to see if the crop has time to finish.
Does baking soda help plants grow?
For reliable guidance on soil chemistry, the author recommends a county extension office soil test, which reports pH, organic matter, and nutrient levels for a small fee.
What is the 3-hour gardening rule?
The author’s own practice is setting a daily alarm for morning watering during germination, or installing a battery-operated hose timer and drip kit to run 10 minutes each day automatically.